Times are tough and with the price of everything just going up these days, it is not easy for the novice fishkeeper interested in keeping live plants to always afford the expensive root tab fertilizers that are on offer in the shops. But don’t fear my fellow fishkeepers! I am here once again to save you and your wallet. What we will be discussing today is how to make your own DIY plant root tabs, and the best thing about this it is cheap, and it will last you much longer than store-bought products. All you will need is some bunny poop, empty gel capsules, and bunny poop, yes you heard right bunny poop!
Why bunny poop?
Bunny poop is packed with nitrogen, phosphorus, potassium, minerals, and micronutrients. It contains beneficial trace elements such as calcium, magnesium, boron, zinc, manganese, sulfur, copper, and cobalt, just to name a few. All the nutrients that your aquarium plants need for healthy growth. Rabbit poop is considered “cold” manure, which means you can almost immediately use it as fertilizer without having to age it. Which makes it perfect for use in your aquarium. Another awesome benefit of rabbit poop is that as the pellets break down, it continues to improve the soil structure & provide plant nutrition, so it acts like a time-release fertilizer!

Can I use any other type of manure?
As I mentioned earlier, rabbit poop is considered “cold” manure, which makes it perfect for your aquarium plants. It also contains just the right amount of macro and micronutrients that your plants need, with other animal manure this balance is off which will cause ammonia/nitrate spikes and cause algae outbreaks.
What exactly would you need to make DIY root tabs?
Before we start all the stuff you will need you can get from the kitchen, BUT I would suggest buying these items for separate use otherwise you will an angry wife on your hands! If not, just make sure to clean these items properly once you are done with them.
- At least two to three hand fulls of bunny poop that has been dried in the sun for a week.
- Empty gel caps, which you can get at most pharmacies.
- Wooden skewer stick.
- Baking tray or a plastic serving tray.
- Container and fork for mixing.
- Two pairs of disposable latex gloves.
- Some boiling water.

How to make the DIY root tabs?
Side note: Before we start, the reason we do the below is that it can be very hard to crush the bunny droppings to turn them into a “powder”. This makes it more manageable to do, but if you find an easier method then use that, by all means, this was just the easiest method that works for me.
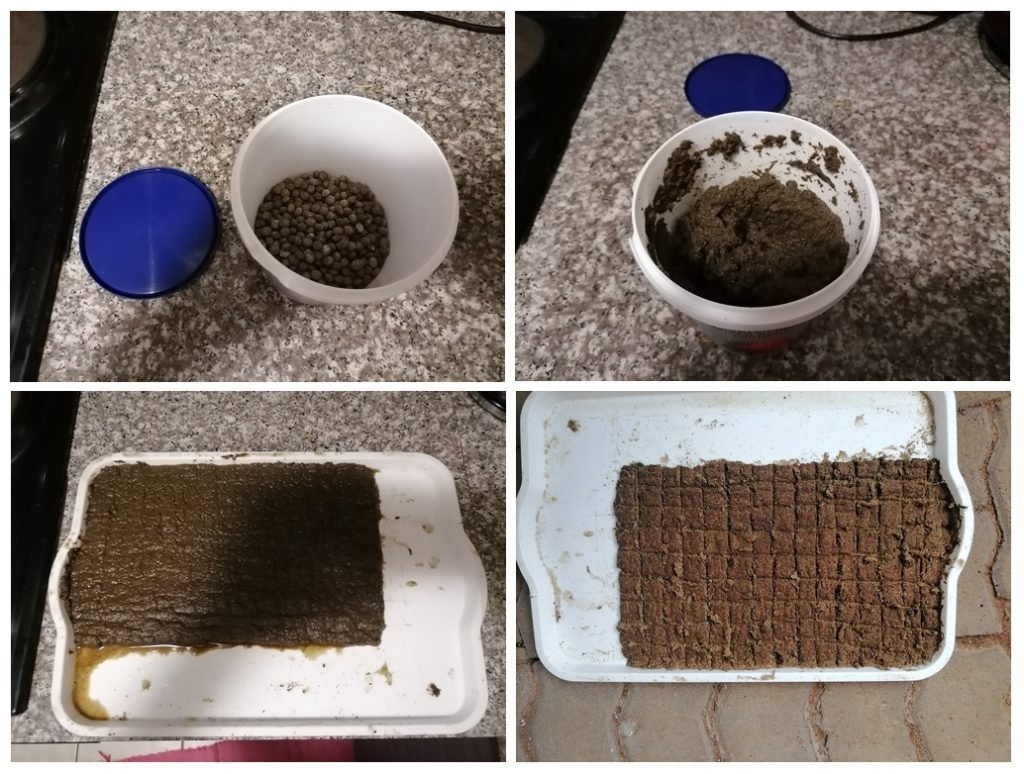
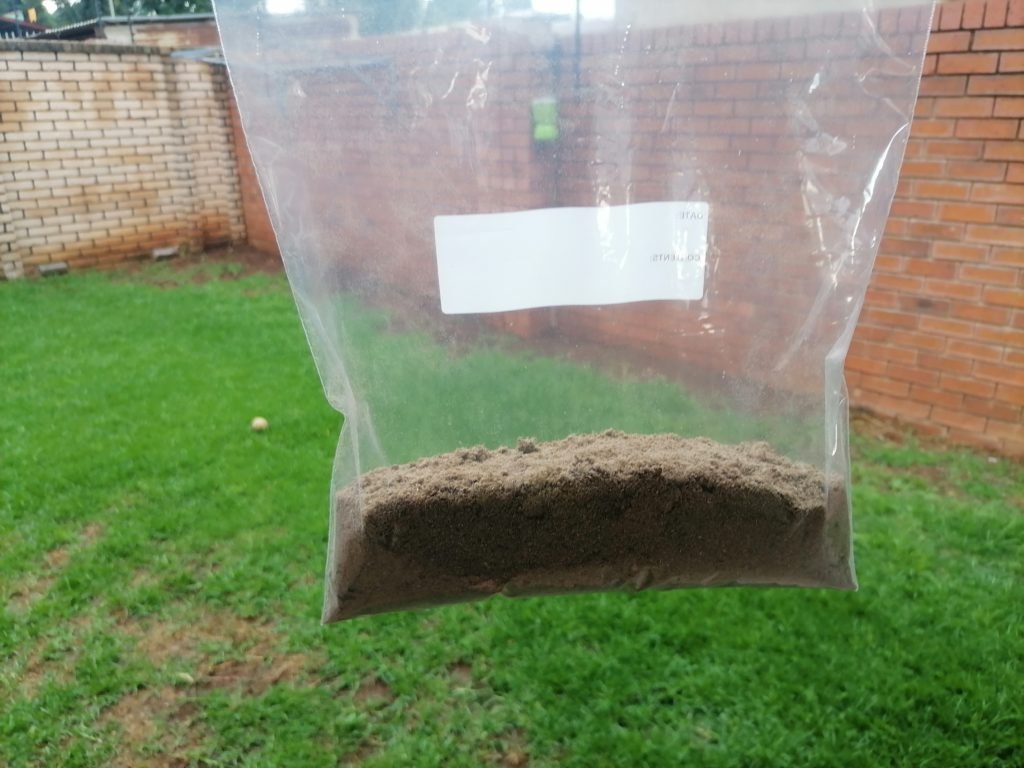
Put the bunny poop you have let dry in the sun for a week into your container of choice, and slowly add the boiling water while slowly start mixing it with a fork. It will absorb a lot of water but keep adding till you notice that it stops absorbing the water, keep mixing till all the poop has broken down and has turned into the same consistency as a wet teabag. At this point, add more water slowly till it turns into a paste, but not too much water! You might need to do this outside due to the unique smell, to be clear it does not smell like other animal manure, but it does have a weird smell which I can only describe as being “herbal”. Now take your baking tray or plastic serving tray and spread the bunny poop paste out in a thin layer. Now let it dry outside for a day or two in the sun. Once almost completely dry you can now break pieces off and start mashing them with your hands, it will easily break up now into a semi-fine powder almost like wood sawdust. Now that you have turned it into a powder-like form you can put it in a plastic zip-lock bag and store it for later use.

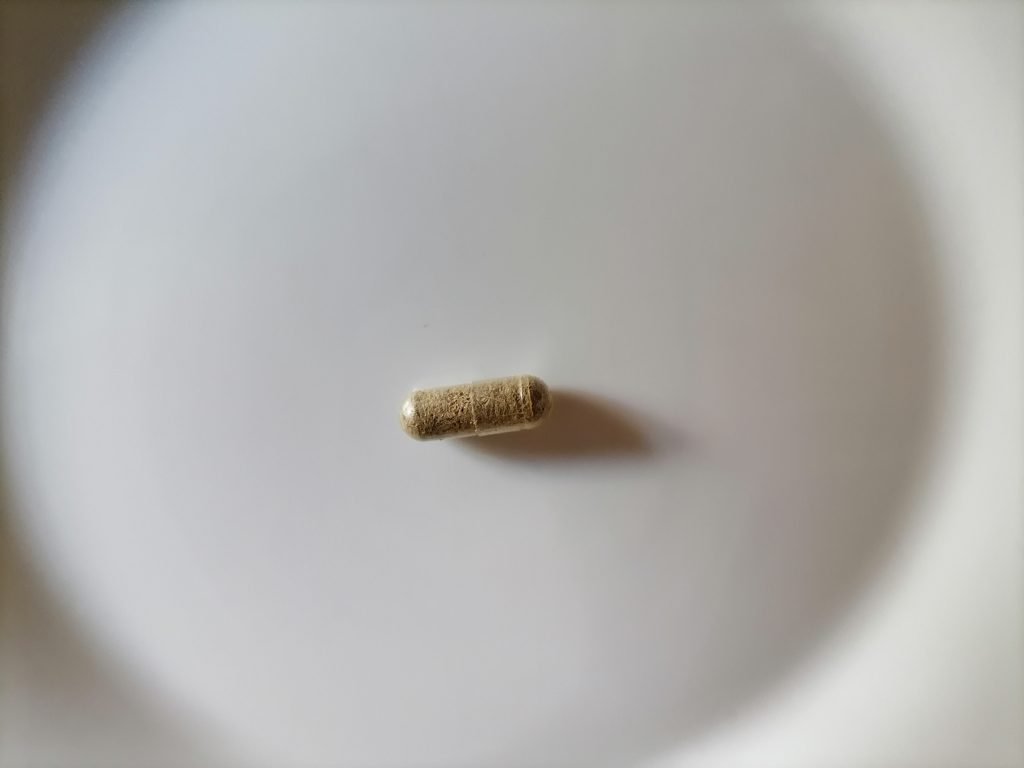
Now take some of that powder and spread it out in a container, open one of the gel caps you have bought, and fill it up with the power (both pieces of the cap). Then use the wooden skewer stick (not the sharp end) to get as much of the powder in there as possible. But leave a small space on both sides of the caps, so you can close them properly. Once filled, squeeze both ends together, and you should feel it slide in with a “click” at the end. This is the most labor-intensive part of the whole process. It took me around 60 minutes to make 20 of these root tabs. Now, all that is left to do is insert them next to the roots of your plants. I found these gel tabs become extremely slippery when they become wet, so I use a cheap pair of aquarium tweezers to insert them as deeply as possible into the substrate. You don’t want it to be shallow otherwise your bottom dwellers might dig it up, or the tab might pop out making a mess of your water. And there we have it! Hopefully, this guide would have helped you make your own DIY root tabs for your aquarium plants!


